みなさんこんにちわ。@It_is_Rです。
UTMはM1 Macでも使える仮想化ソフトです。
今回はUTMを使って、M1 MacにWindows11の仮想環境を構築していきたいと思います。
UTMバージョン3への更新で、これまでのものと使い方が大きく変わりました。
この記事はバージョン3.2.4での方法で新しく書き直しています。(更新日2022年5月30日)
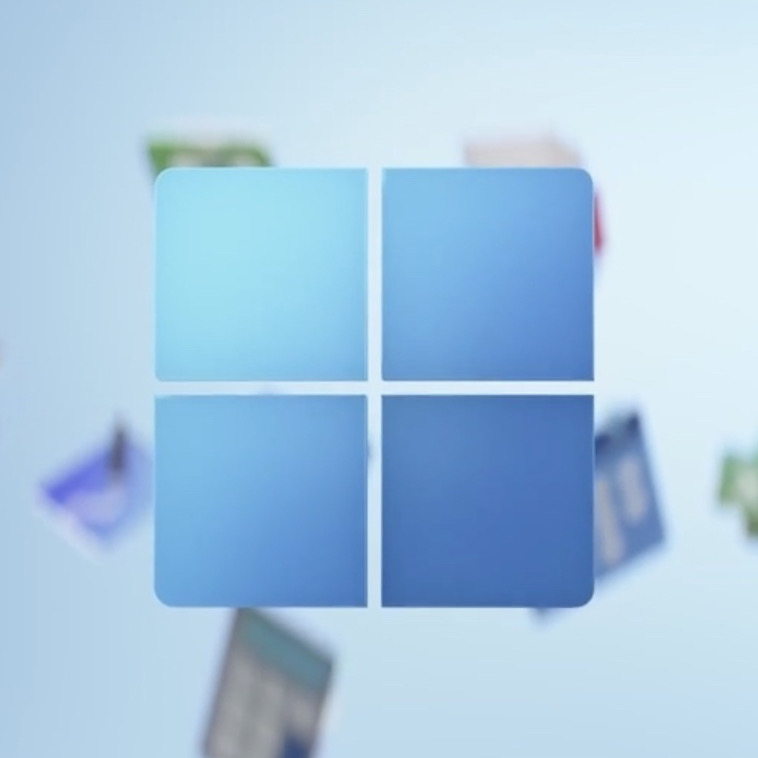
下のものが、UTMでWindows11を動かしたところの画像です。

では、はじめていきましょう。
UTMのダウンロード
UTMは公式サイトからもダウンロードできるのですが、Homebrewを使うと、もっと簡単にダウンロードすることができます。
ターミナルを開き、以下のコマンドを実行します。(Homebrewをインストールしてある必要があります)
$ brew install --cask utmHomebrewについて、詳しく知りたい方は、こちらの記事をご覧ください。
Windows11のダウンロード
今回、Windows11は、UUP dumpからダウンロードします。
UUP dump(https://uupdump.net/)

上記ページにアクセスしたら、Latest Beta Channel buildの「arm64」をクリックします。

「Windows 11 Insider Preview 10.0.22000.160 (co_release)」を選択しました。

Languageで「Japanese」を選択して、「Next」をクリックします。

Editionを選びます。ここでは、そのまま「Next」をクリックします。

「Download and convert to ISO」にチェックが入っているのを確認し、「Include updates (Windows converter only)のチェックを外します。
そのあと、「Create download package」をクリックします。

ダウンロードが完了し、解凍すると、「22621.1_arm64_ja-jp_multi_157beec5_convert」というフォルダが作られます。(バージョンによって、名前の違いがあるかもしれません)
では、「22621.1_arm64_ja-jp_multi_157beec5_convert」フォルダをデスクトップに移動します。
さらにターミナルを開き、たった今、デスクトップに置いた「22621.1_arm64_ja-jp_multi_157beec5_convert」に移動します。
$ cd /Users/(ユーザ名)/Desktop/22621.1_arm64_ja-jp_multi_157beec5_convertさらに、「uup_download_macos.sh」を実行します。(おそらく、次のようなエラーになります)
$ bash uup_download_macos.sh
One of required applications is not installed.
The following applications need to be installed to use this script:
 - aria2c
 - cabextract
 - wimlib-imagex
 - chntpw
 - genisoimage or mkisofs

macOS requires Homebrew (https://brew.sh) to install the prerequisite software.
If you use Homebrew, you can install these using:
brew tap sidneys/homebrew
brew install aria2 cabextract wimlib cdrtools sidneys/homebrew/chntpwでは、言われたとおりにHomebrewを使って必要なパッケージをインストールしていきます。
Homebrewについて、詳しく知りたい方は、こちらの記事をご覧ください。
上記記事を参考にHomebrewをインストールしたら、さきほどのエラーにも書かれていた、以下のコマンドを実行します。(2つ目のコマンドで、またまたエラーが表示されます)
$ brew tap sidneys/homebrew
$ brew install aria2 cabextract wimlib cdrtools sidneys/homebrew/chntpw
Last 15 lines from /Users/r/Library/Logs/Homebrew/openssl@1.0/02.make:
 ^
x86_64cpuid.s:273:10: error: unknown token in expression
 cmpq $0,%rax
         ^
x86_64cpuid.s:273:10: error: invalid operand
 cmpq $0,%rax
         ^
x86_64cpuid.s:274:9: error: unknown token in expression
 cmoveq %rcx,%rax
        ^
x86_64cpuid.s:274:9: error: invalid operand
 cmoveq %rcx,%rax
        ^
make[1]: *** [x86_64cpuid.o] Error 1
make: *** [build_crypto] Error 1

Do not report this issue to Homebrew/brew or Homebrew/core!

These open issues may also help:
Mac M1 chntpw not building (Openssl 1.0 requirement not satisfied) https://github.com/sidneys/homebrew-homebrew/issues/2表示されたエラーメッセージに書かれたページ(https://github.com/sidneys/homebrew-homebrew/issues/2)を確認すると、その解決方法を見ることができます。
上記ページを参考に、以下のコマンドを実行しました。
$ curl -LO https://gist.github.com/minacle/e9dedb8c17025a23a453f8f30eced3da/raw/908b944b3fe2e9f348fbe8b8800daebd87b5966c/openssl@1.0.rb
$ curl -LO https://gist.github.com/minacle/e9dedb8c17025a23a453f8f30eced3da/raw/908b944b3fe2e9f348fbe8b8800daebd87b5966c/chntpw.rb
$ brew install --formula --build-from-source ./openssl@1.0.rb
$ brew install --formula --build-from-source ./chntpw.rb
$ rm ./openssl@1.0.rb ./chntpw.rbあとは実際にWindows11のisoファイルをダウンロードするスクリプトを実行します。
$ bash uup_download_macos.shかなり時間がかかりますが、環境すると「22621.1_MULTI_ARM64_JA-JP.ISO」といったふうなファイルが22621.1_arm64_ja-jp_multi_157beec5_convertフォルダに作成されます。(バージョン等によってファイル名は違います)
$ ls
22621.1_MULTI_ARM64_JA-JP.ISO files
ConvertConfig.ini             uup_download_linux.sh
UUPs                          uup_download_macos.sh
aria2_download.log            uup_download_windows.cmd
aria2_script.26595.txtこの「22621.1_MULTI_ARM64_JA-JP.ISO」ファイルは、自分が分かりやすい場所に保存しておきましょう。
UTMでWindows11の仮想環境を構築
では、UTMを使ってWindows11の仮想環境を構築していきましょう。
UTMを開いたら、「Create a New Virtual Machine」をクリックします。

すると、つぎのような画面が表示されますので、「Virtualize」をクリックします。

Operation Systemは、「Windows」を選択します。

すると、次のような画面が表示されます。

①の「Download Windows 11 for Arm64 Preview VHDX」をクリックすると、Windows 11をダウンロードすることができます。(Windows Insider programへの登録が必要です)ただ、さきほど「UUP dump」からWindows11のisoをダウンロードしているので、今回は必要ありません。
②の「SPICE tools and QEMU drivers」をクリックすると、ツールのダウンロードページへアクセスできます。
このツールはWindows11をインストールしたあとに必要になるので、ここでダウンロードしておきましょう。
では、「SPICE tools and QEMU drivers」をクリックします。

すると、次のページに繋がりますので、「Download」をクリックします。

すると、isoファイル「spice-guest-tools-0.164.3.iso(バージョンが異なる可能性があります)」がダウンロードされますので、お好きな場所に保存しておいてください。
つづいて、UTMの画面に戻り、「Import VHDX Image」のチェックを外します。

「Browse」をクリックし、最初にダウンロードしたWindows11のisoファイル(22621.1_MULTI_ARM64_JA-JP.ISO)を選択します。

「Continue」をクリックします。

Memoryを「6144」MBに設定し、「Continue」をクリックします。

そのまま「Next」をクリックします。

つづいて、仮想マシンとMacで共有を行なうためのフォルダを指定します。
あらかじめ共有するフォルダを作っておき、「Browse」をクリックして、そのフォルダを選択しましょう。

共有するフォルダを指定できたら、「Continue」をクリックします。

Nameには分かりやすい名前をつけ、「Save」をクリックします。

これで、Windows11の仮想環境を作ることができました。

Windows11を起動する
さて、準備は整いましたが、まだまだWindows11を起動するには、もう少し作業が必要になります。
では、▶を押して、Windows11を立ち上げてみましょう。

次の画面が開きますので、素早くescを押します。

「Device Manager」を選択して、returnを押します。

「OVMF Platform Configuration」を選択して、returnを押します。

640×480を「1024×768」に変更します。

F10を押したあとYを押すことで、変更を保存します。

escを2回押して、「Continue」を選択し、returnを押します。

しかし、どういうわけかこのままでは画面のサイズが変わらないので、いったん左上の「×」を押してVMを閉じ、そして再び起動します。
すると、次のような画面が一瞬だけ表示されますので、その間にspaceを押します。
失敗すると黄色い文字が書かれた画面が表示されてしまうので、そのときは、もう一度「×」で閉じて、起動しなおしてください。

お好みの設定に変更して、「次へ」をクリックします。

すると、次のような画面が表示されます。

本来であれば、ここで「今すぐインストール」をクリックしたいのですが、どうもここでこれをクリックしてしまうと、最終的には「この PC では Windows 11 を実行できません」というエラーが表示されて、インストールできないようです。
「この PC では Windows 11 を実行できません」というエラーについて
さきほどの状態から、「今すぐインストール」をクリックして進めていくと、最終的には「この PC では Windows 11 を実行できません」という画面が表示されてしまいます。

この PC では Windows 11 を実行できません
この PC は、このバージョンの Windows をインストールするための最小システム要件を満たしていません。詳細についてはhttps://aka.ms/WindowsSysReq を参照してください。
Windows
もしこの画面が表示されてしまった場合は、右上の「×」をクリックして、Windows セットアップの画面に戻りましょう。
では、次はこのエラーを解決していきたいと思います。
レジストリエディタを開いて、設定を操作する
「この PC では Windows 11 を実行できません」というエラーを解決するには、レジストリエディタを開いて、設定を操作していきます。
Windows セットアップの画面で、Shift + F10を押します。

するとコマンドプロンプトが開かれますので、「regedit」と入力して、実行します。

するとこのように、レジストリエディターが開かれました。

「HKEY_LOCAL_MACHINE」→「SYSTEM」と選択し、「Setup」を右クリックします。
「新規」→「キー」をクリックします。

キーの名前は「LabConfig」にします。

LabConfigを選択した状態で、なにもないところを右クリックし、「新規」→「DWORD (32ビット) 値(D)」をクリックします。

名前は「BypassTPMCheck」とします。

さらに再び、なにもないところを右クリックし、「新規」→「DWORD (32ビット) 値(D)」をクリックします。

こんどは名前を「BypassSecureBootCheck」にします。

「BypassTPMCheck」をダブルクリックし、値のデータに「1」を入力して、「OK」をクリックします。

おなじように、こんどは「BypassSecureBootCheck」をダブルクリックし、値のデータに「1」を入力して、「OK」をクリックします。

あとはレジストリエディターを「×」で閉じ、コマンドプロンプトに「exit」と入力して閉じましょう。
そして「今すぐインストール」をクリックします。

「プロダクトキーがありません」をクリックします。

オペレーティングシステムを選択します。
ここでは「Windows 11 Professional」を選択しました。

ライセンスに目を通し、チェックを入れ、「次へ」をクリックします。

「カスタム:Windowsのみをインストールする(詳細設定)」をクリックします。

「次へ」をクリックします。

これで、インストールが始まります。

もしかすると、ここで0x80070B1といったエラーが発生し、うまくインストールされないかもしれません。
そのときは、いったんVMを閉じて、もう一度試してください。
それでもうまくいかない場合は、VMの全てのパーティションを削除して、もう一度試してください。
さらにそれでもうまくいかない場合は、Macを再起動したり、VMをもう一度作り直したりして、試してください。
しばらく待つと、再起動が始まります。

再起動されると、つぎのような画面が開きます。(もし再起動されない場合は、仮想マシンを閉じて、もう一度起動しなおします)
そのまま「はい」をクリックします。

「はい」をクリックします。

「スキップ」をクリックします。

すると、「ネットワークに接続しましょう」の画面が表示されます。
しかし、もしかするとここから、一切、先に進めないかもしれません。

では、次でその対処法を見ていきましょう。
「ネットワークに接続しましょう」から進めないときの対処法
ネットワークに接続しましょう、から進めないときの対処法です。
まずshift + F10を押します。
さらに以下のコマンドを実行しましょう。
OOBE\BYPASSNRO\は、¥と表示されるかもしれません。

これで、さきほどと同じ手順で進めれば、「インターネットに接続していません」という項目が表示されるようになります。

「制限された設定で続行」をクリックします。

あとは、手順に沿って進めていきましょう。
名前とパスワードを決め、3つの質問に答え、プライバシー設定が完了すると、Windows11が使えるようになります。
しかし、このままではインターネットに接続することができません。
そこで、Spice Guest Toolsをインストールすることで、インターネット接続ができるようになります。
Spice Guest Toolsのインストール
Spice Guest Toolsをインストールすることで、仮想マシンのWindows11でもインターネットに接続できるようになったりと、仮想マシンの使い勝手がよくなります。
では、インストールしてみましょう。
下の画像のように、画面右上のアイコンをクリックします。

下の画像のように、「CD/DVD (ISO) Image (usb): 22621.1_MULTI_ARN64_JA-JP.ISO」の「Change」をクリックします。

そして、VMを作る最初の方でダウンロードしておいた、「spice-guest-tools-0.164.3.iso(バージョンが異なる可能性があります)」を選択しておきましょう。(まだダウンロードしてない場合、「https://mac.getutm.app/support/」からダウンロードできます)
選択したら、「CD ドライブ(D:) QEMU」から「spice-guest-tools-0.164」を開きます。

次のような画面が表示されますので、「Next」をクリックします。

ライセンスに目を通し、「I Agree」をクリックします。

これでインストールがはじまりますので、しばらく待ちましょう。

最後に、「Finish」をクリックします。

仮想マシンの再起動が終了すれば、インターネットに接続できるようになるはずです。
まとめ
UTMはM1 Macでも使える仮想化ソフトです。
このUTMを使えば、M1 Macの仮想環境にWindows11をインストールすることができます。
私も試行錯誤して、やっとの思いで仮想環境を作ることができました。
参考になれば幸いです。

![Todo PCTransは、Mac上の仮想Windowsにもデータ転送できるのか!?[PR]](https://original-game.com/wp-content/uploads/2022/07/todo_pctrans23-220x220.jpg)