TextViewの文字列を変更するより、これまでの人生を変更したい@It_is_Rです。
Android Studioを使ったアプリ開発講座6回目です。
今回はアプリに表示されたテキストを変更、そして、さらに別のテキストを追加表示してみます。
※今回使用しているバージョンは「Android Studio 2.3.3.0」です。
前回までの解説では、アプリ内に「Hello World!」と表示されているだけでした。
言い換えれば「Hello World!」と書かれた TextView が、あらかじめ用意されているということです。
本来の開発であれば、これが不要の場合、削除してしまいます。が、今回はそのままにしておきます。
今回はここからテキストの変更や追加、表示する方法を解説していきたいと思います。
TextView のテキストを変更する
まずはテキストを変更する方法です。
その方法は「Design」もしくは「Text」で編集していきます。
Design で変更する方法
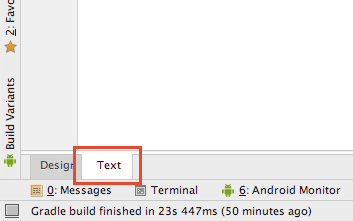
「activity_main.xml」ファイルを開くと、左下に「Design」と「Text」が選べるようになっています。
ここでは「Design」を選びましょう。
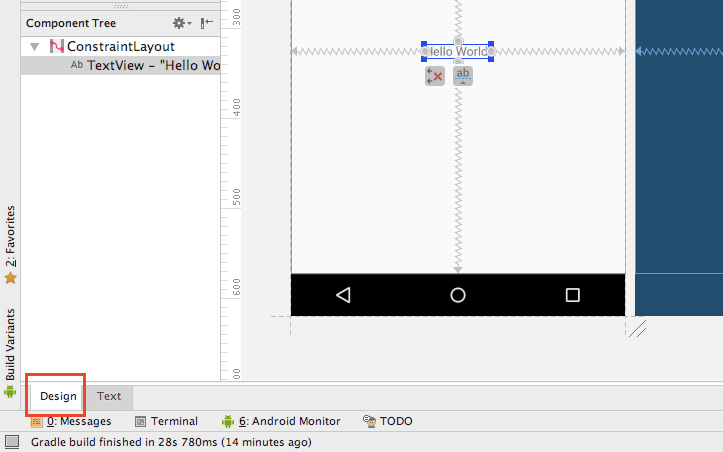
すると下のように、アプリ画面のデザインが表示されます。
今回は文字を変更したいので、アプリ画面中央の文字をクリックして選択します。
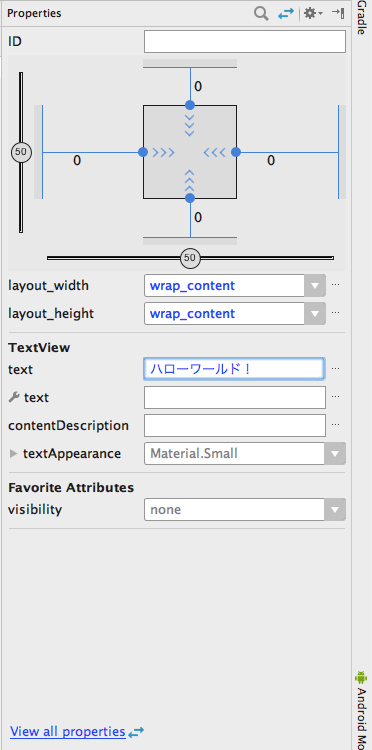
右に「Properties」が表示されますので、TextView→textの「Hello World!」を好きな文字に変更します。

私は「ハローワールド!」に変更してみました。
Text で変更する方法
ソースを編集するのに慣れている方は、こちらの方が分かりやすいかもしれません。
「activity_main.xml」ファイルを開き「Text」を選択します。
<?xml version="1.0" encoding="utf-8"?>
<android.support.constraint.ConstraintLayout xmlns:android="http://schemas.android.com/apk/res/android"
    xmlns:app="http://schemas.android.com/apk/res-auto"
    xmlns:tools="http://schemas.android.com/tools"
    android:layout_width="match_parent"
    android:layout_height="match_parent"
    tools:context="com.example.r.myapplication.MainActivity">

    <TextView
        android:layout_width="wrap_content"
        android:layout_height="wrap_content"
        android:text="Hello World!"
        app:layout_constraintBottom_toBottomOf="parent"
        app:layout_constraintLeft_toLeftOf="parent"
        app:layout_constraintRight_toRightOf="parent"
        app:layout_constraintTop_toTopOf="parent" />

</android.support.constraint.ConstraintLayout>
12行目のandroid:text="Hello World!"が、アプリ内のTextViewに表示されている文字を表しています。
この部分を変更してみましょう。
<?xml version="1.0" encoding="utf-8"?>
<android.support.constraint.ConstraintLayout xmlns:android="http://schemas.android.com/apk/res/android"
    xmlns:app="http://schemas.android.com/apk/res-auto"
    xmlns:tools="http://schemas.android.com/tools"
    android:layout_width="match_parent"
    android:layout_height="match_parent"
    tools:context="com.example.r.myapplication.MainActivity">

    <TextView
        android:layout_width="wrap_content"
        android:layout_height="wrap_content"
        android:text="ハローワールド!"
        app:layout_constraintBottom_toBottomOf="parent"
        app:layout_constraintLeft_toLeftOf="parent"
        app:layout_constraintRight_toRightOf="parent"
        app:layout_constraintTop_toTopOf="parent" />

</android.support.constraint.ConstraintLayout>
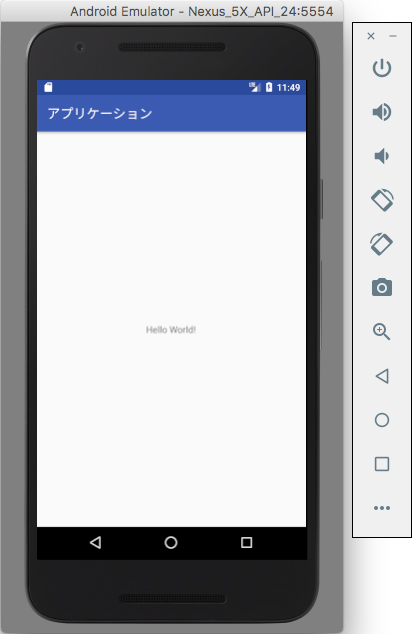
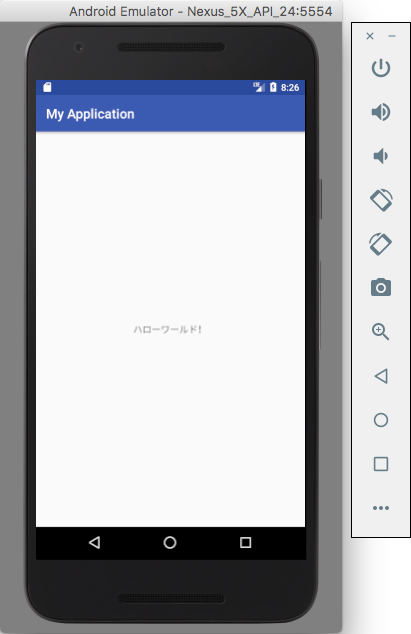
どちらの方法でも、実行するとこのように文字が変更されます。
エラー?が表示されます
さて、文字列を変更すると、エラー?が表示されます。
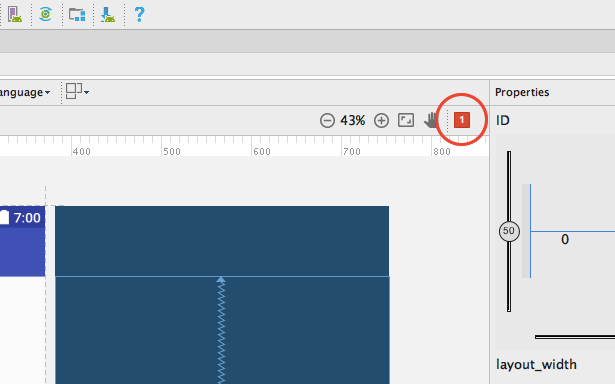
この赤い四角をクリックすると、次のように表示されます。

実は今回のこれはエラーではなくWarning(警告)です。
Warning: Hardcoded string “ハローワールド!”, should use `@string` resource
つまり、@stringを使った方がいいよ、ということです。
このままでも実行はされますが、警告をそのままにしておくのも気持ち悪いので、@stringを使ったものに作り変えてみたいと思います。
「strings.xml」を使用することで、これを解決することができます。
「strings.xml」を使う
「strings.xml」ファイルを開きます。
<resources>
    <string name="app_name">My Application</string>
</resources>
ここに表示したいテキストをあらかじめ入力しておきます。
こんな感じです。
<resources>
    <string name="app_name">My Application</string>
    <string name="text">ハローワールド!</string>
</resources>
入力したら「activity_main.xml」を開きます。
ここから「Design」か「Text」かのどちらかで変更していきます。
まずは「Design」で変更する方法です。
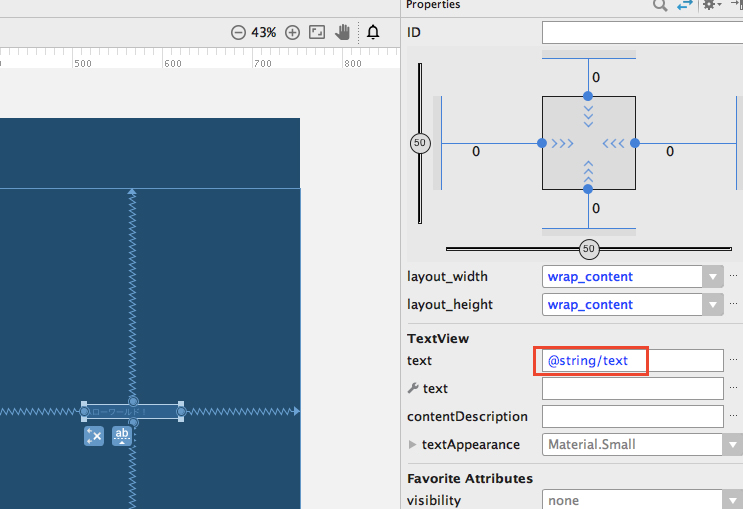
TextViewを選択し「Properties」から「text」の部分を書き換えます。
@string/textと入力します。ここでいうtextというのは、先ほど「strings.xml」で指定した「name」にあたるものです。
もしも「Text」で編集する場合は、ソースを以下のように変更します。
変更する箇所は12行目です。
<?xml version="1.0" encoding="utf-8"?>
<android.support.constraint.ConstraintLayout xmlns:android="http://schemas.android.com/apk/res/android"
    xmlns:app="http://schemas.android.com/apk/res-auto"
    xmlns:tools="http://schemas.android.com/tools"
    android:layout_width="match_parent"
    android:layout_height="match_parent"
    tools:context="com.example.r.myapplication.MainActivity">

    <TextView
        android:layout_width="wrap_content"
        android:layout_height="wrap_content"
        android:text="@string/text"
        app:layout_constraintBottom_toBottomOf="parent"
        app:layout_constraintLeft_toLeftOf="parent"
        app:layout_constraintRight_toRightOf="parent"
        app:layout_constraintTop_toTopOf="parent" />

</android.support.constraint.ConstraintLayout>
テキストを追加する
では、テキストを追加してみましょう。
これも「Design」と「Text」の二つの方法があります。
Design で変更する方法
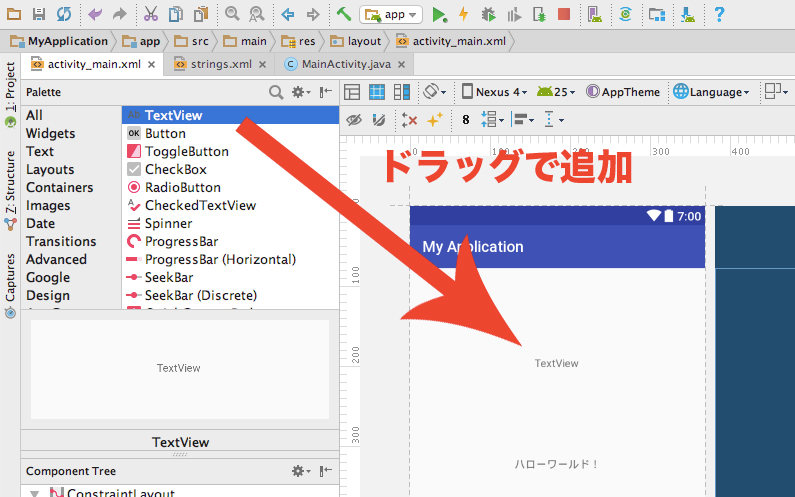
追加は「Palette」から「TextView」をドラッグすることでできます。
Text で変更する方法
<?xml version="1.0" encoding="utf-8"?>
<android.support.constraint.ConstraintLayout xmlns:android="http://schemas.android.com/apk/res/android"
    xmlns:app="http://schemas.android.com/apk/res-auto"
    xmlns:tools="http://schemas.android.com/tools"
    android:layout_width="match_parent"
    android:layout_height="match_parent"
    tools:context="com.example.r.myapplication.MainActivity">

    <TextView
        android:layout_width="wrap_content"
        android:layout_height="wrap_content"
        android:text="@string/text"
        app:layout_constraintBottom_toBottomOf="parent"
        app:layout_constraintLeft_toLeftOf="parent"
        app:layout_constraintRight_toRightOf="parent"
        app:layout_constraintTop_toTopOf="parent" />

    <!-- ここから -->
    <TextView
        android:layout_width="wrap_content"
        android:layout_height="wrap_content"
        android:text="TextView" />
    <!-- ここまで追加 -->

</android.support.constraint.ConstraintLayout>
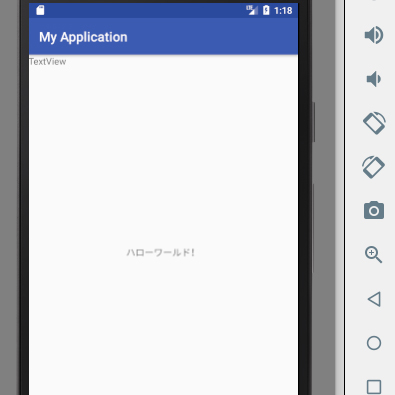
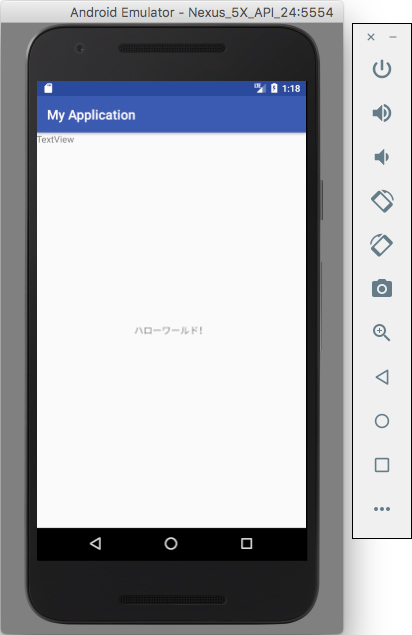
とりあえずテキストを追加することができますが、このままでは位置を指定していないので、実行しても左上に文字がきてしまいます。
文字の位置を指定する方法については、後日別の記事で紹介したいと思います。
このシリーズの一覧はこちら
- Android StudioをMacにインストールする方法
- 【Android Studio】新規プロジェクトを作成する方法
- 【Android Studio】エミュレータを起動してプログラムを実行する方法!
- 【Android Studio】開発したアプリの実機テストを行う方法。
- 【Android Studio】アプリ開発の基本とそれぞれのファイルの役割を覚える。
- 【Android Studio】TextView を使ってテキストを変更、追加する方法。
- 【Android Studio】Button(ボタン)を作る基本中の基本。
- 【Android Studio】TextView 文字の色やサイズ、書体を変更する方法。
- 【Android Studio】レイアウト( Layout )の種類を覚えよう!
- 【Android Studio】 GridLayout の使い方。複雑なレイアウトを表現する方法
- 【Android Studio】じゃんけんゲームの作り方(アプリ開発の基本)


コメントを残す(コメントは承認後に反映されます)